To send Customer Winback Emails, you need to be integrated with BigCommerce, Shopify, Shopify Plus, or Wix so that your customers’ order history is available to Privy.
Create a new Customer Winback series
- Navigate to Automation (Legacy) and click the New Automation button.
- Select the Customer Winback option. This action opens Privy’s series editor.
Name your series
- At the top of your series editor, you’ll be able to edit and update the name of your series — this is internal only and for you to keep yourself organized.
Add/Remove emails
- To add more emails to your series, click on any of the ‘plus’ signs between the emails.
- To remove an email from your series, click on the trash icon at the bottom of the email you’d like to delete.
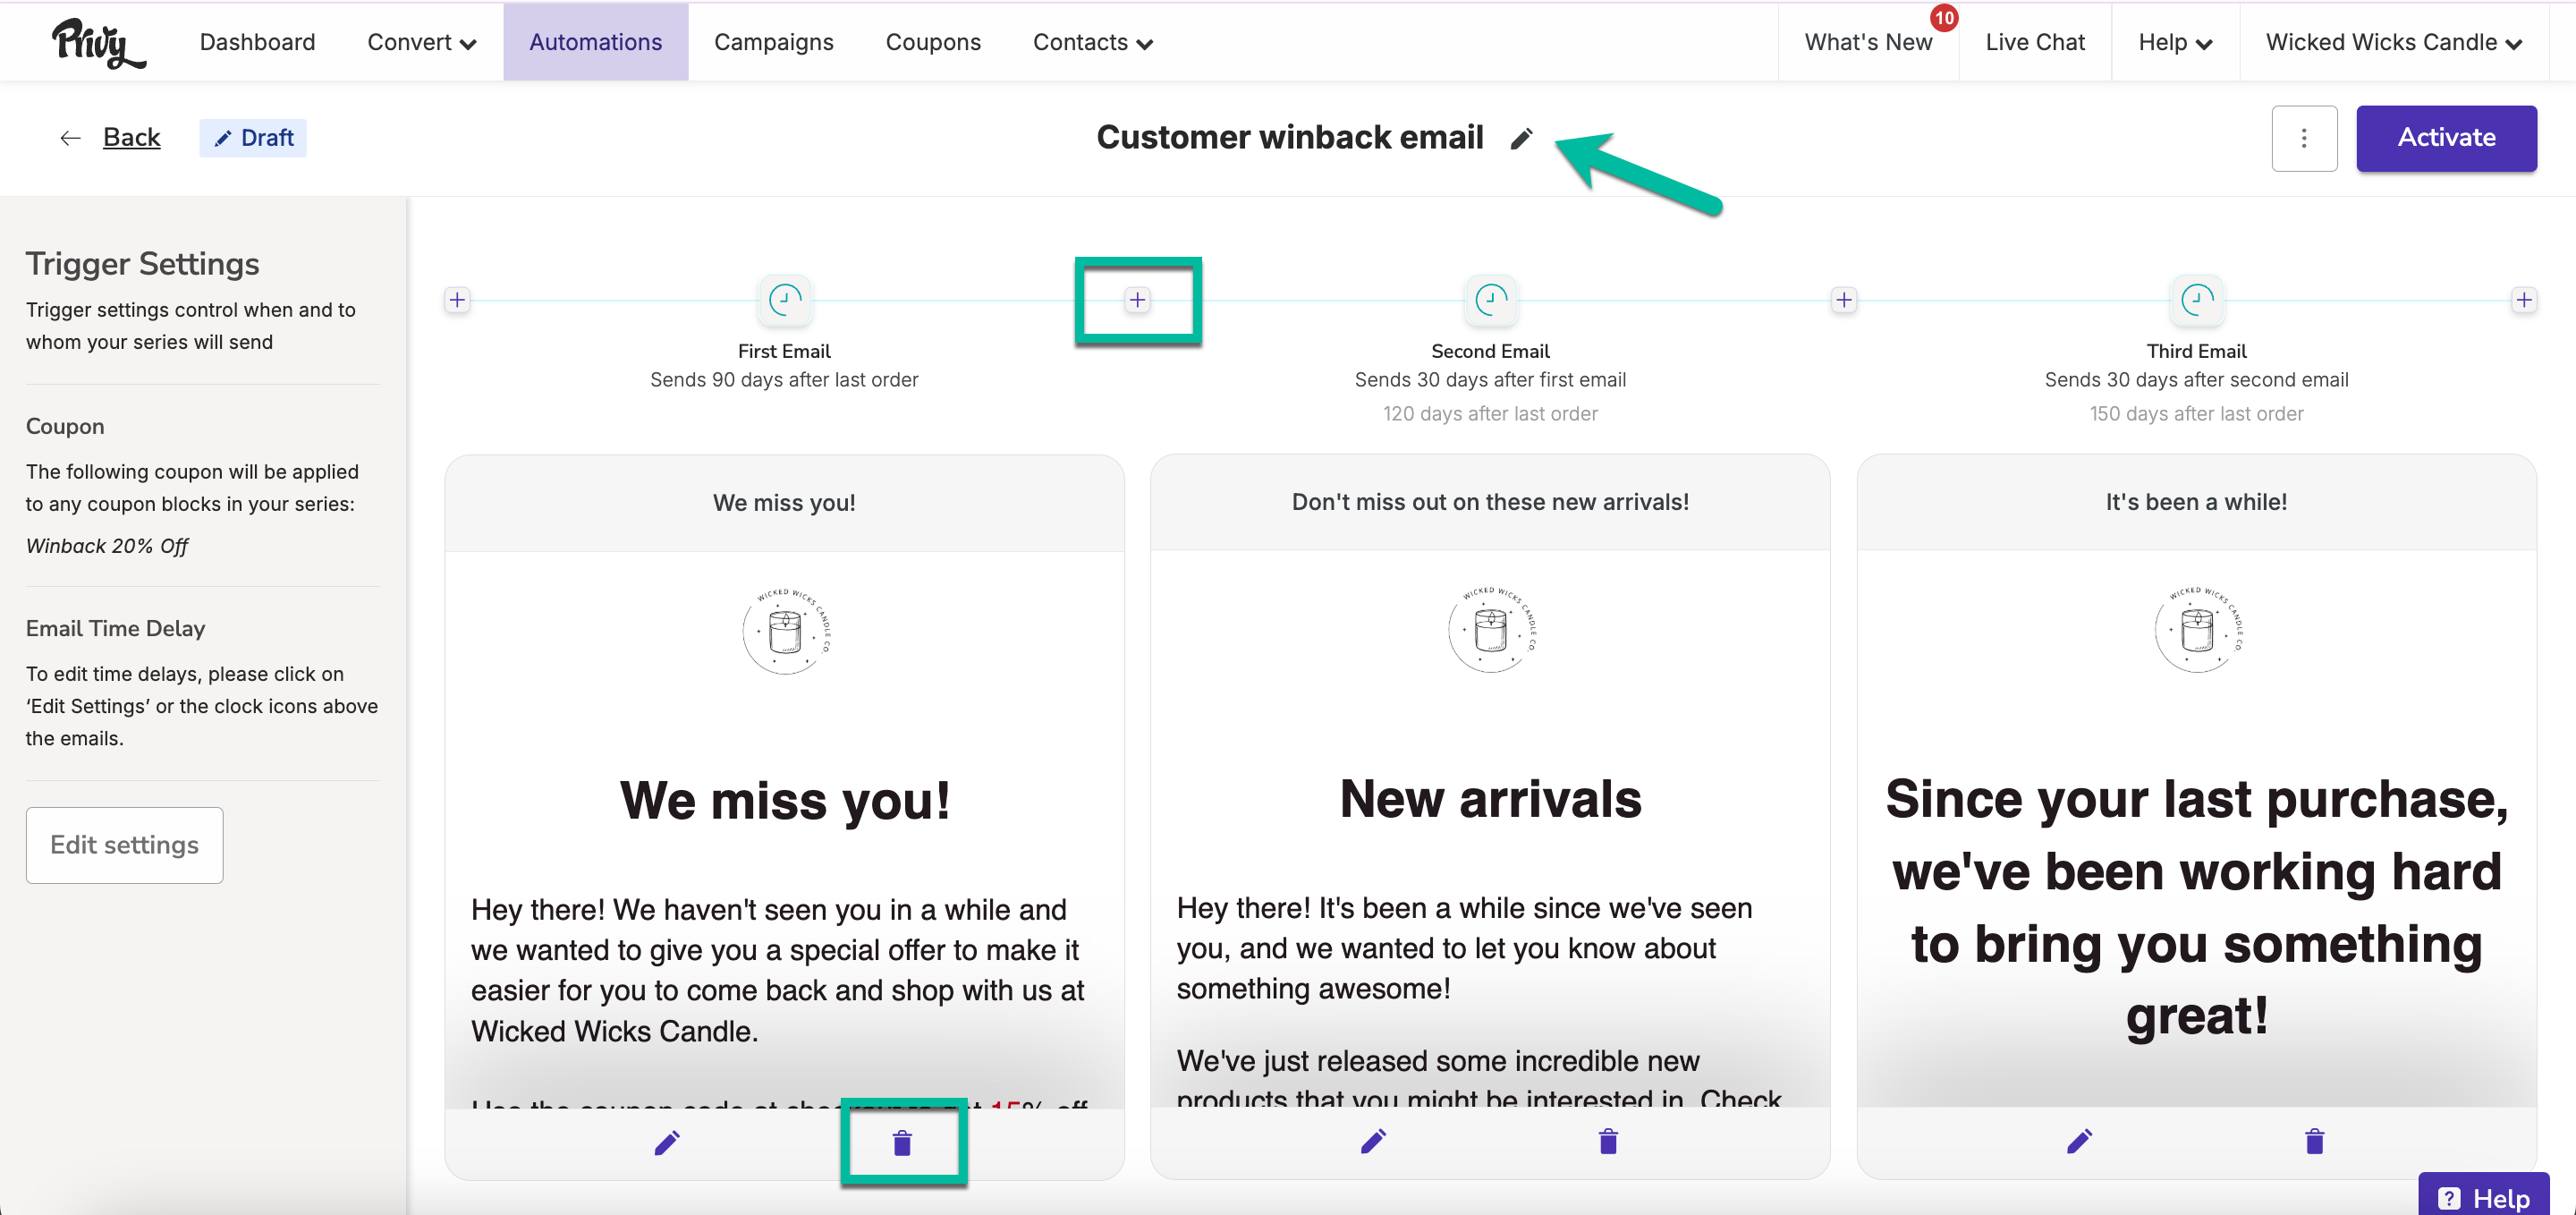
The minimum amount of emails needed is 1. The maximum amount of emails allowed in a series is 10.
Edit your settings
When creating your Customer Winback series, you have a couple of settings that you can configure: the time delay and your coupon. To edit your settings, click the Edit settings button on the left side bar.Time delay
Configure your time delay to determine how long your first email triggers after the customer’s last order, and how much of a delay there is between each subsequent email triggers. You can customize each email’s time delay by number of minutes, hours, or days.Coupon
Attach a coupon to your series. Follow these instructions to insert a coupon code into your email content!Customize your templates
To edit the appearance of each of your emails, click the Edit icon to access the email editor: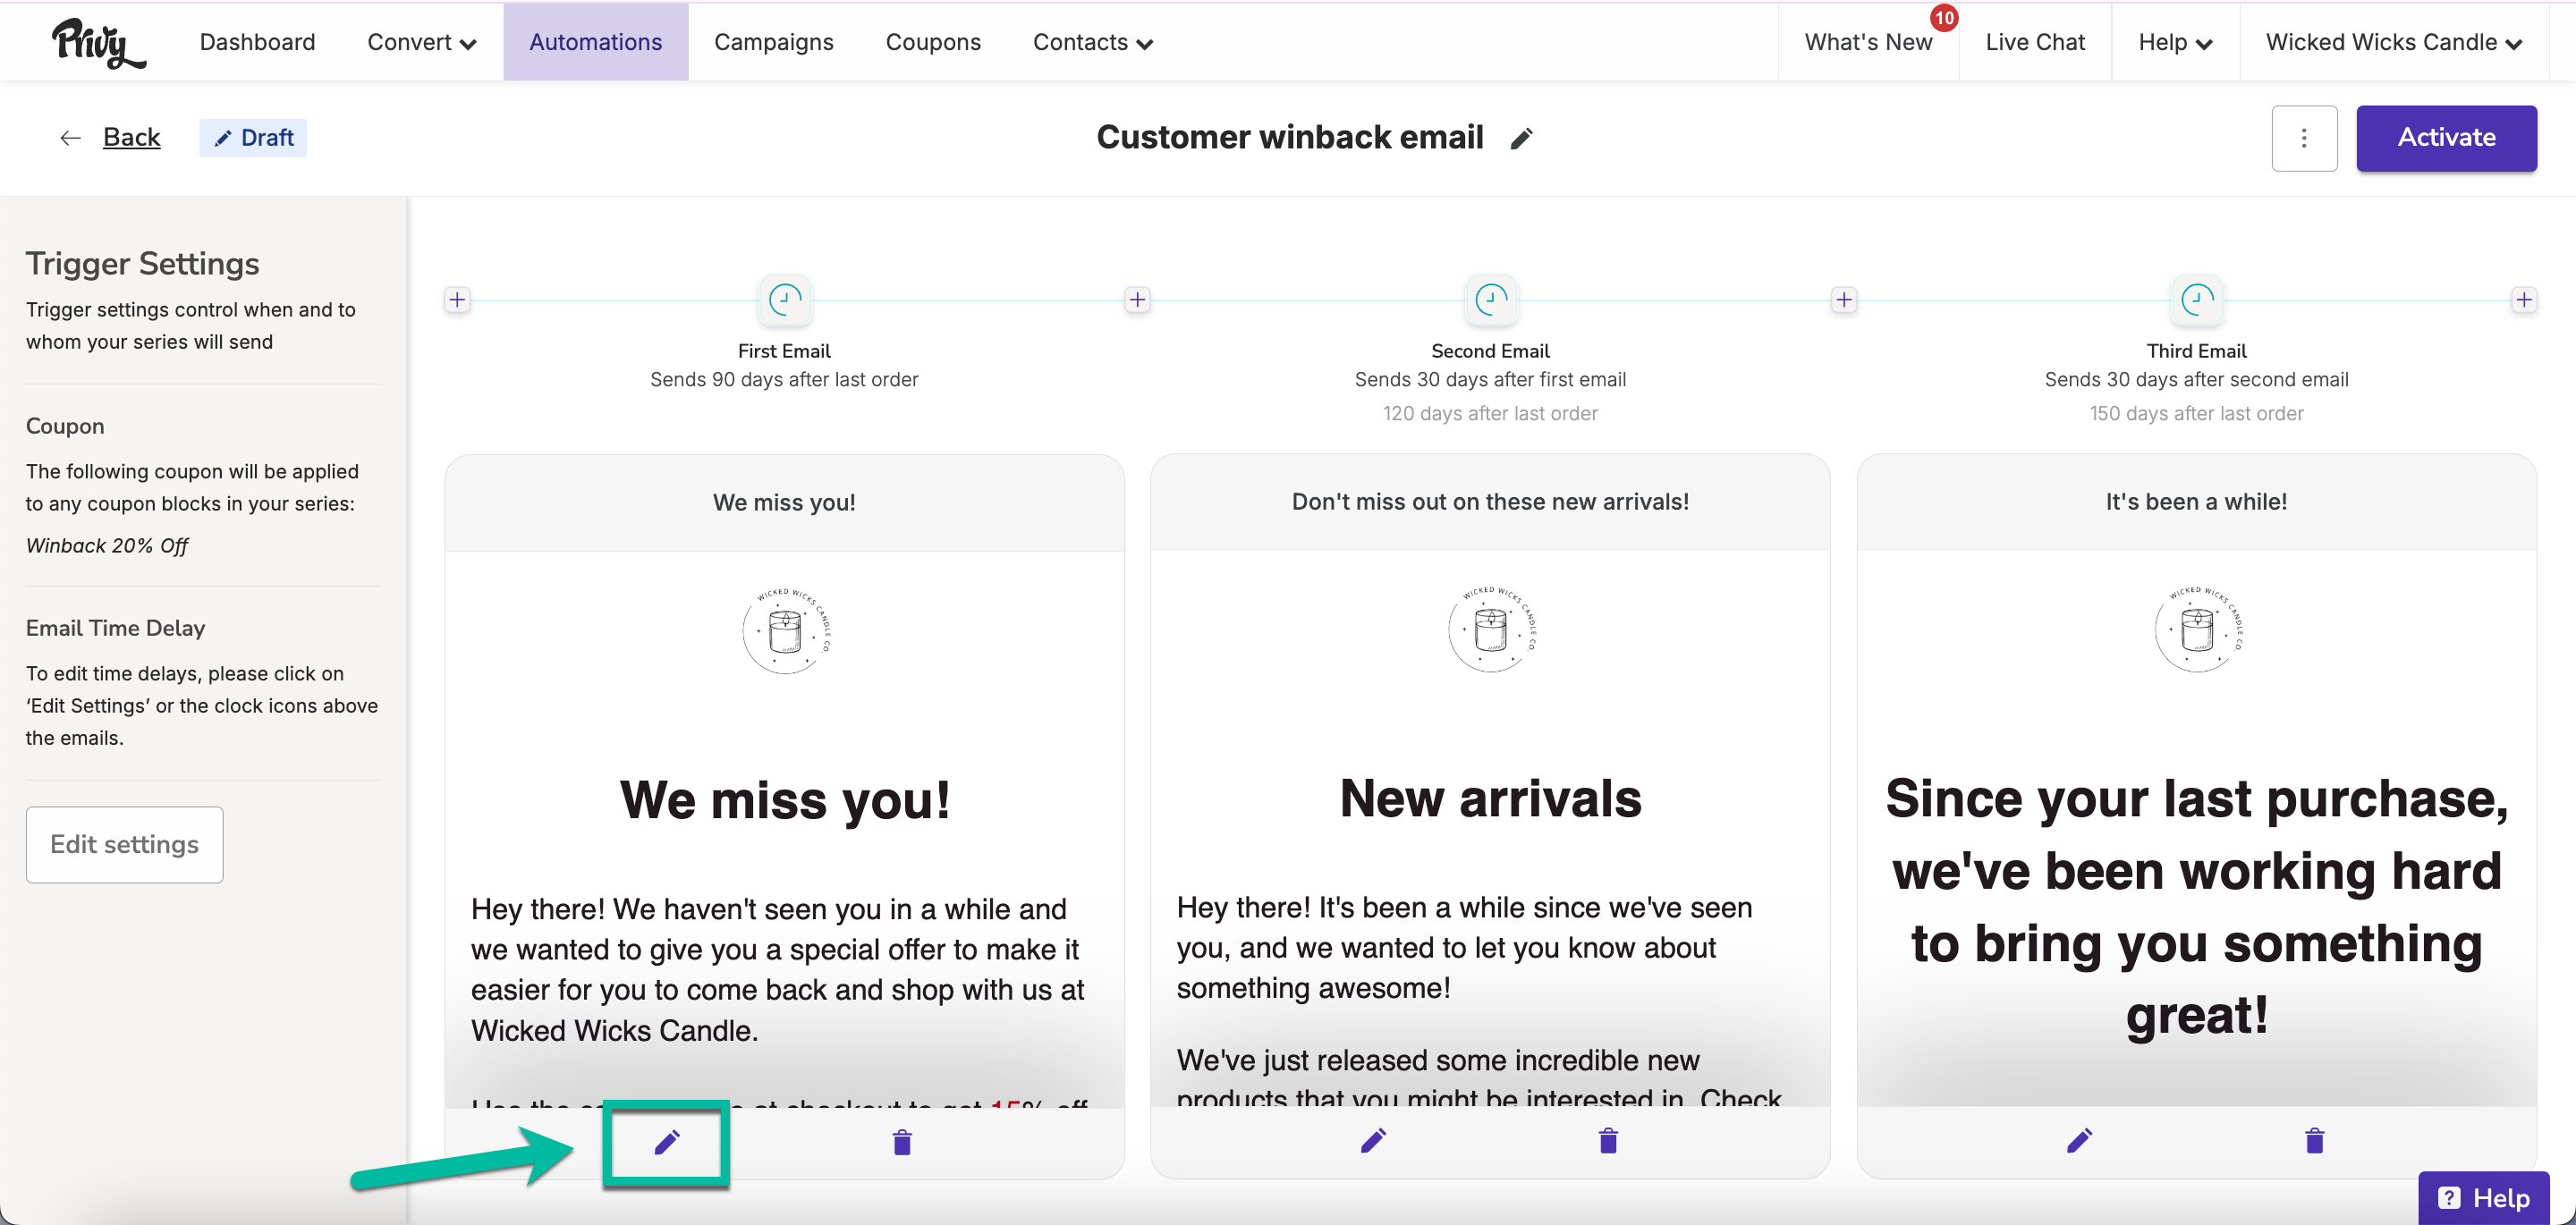
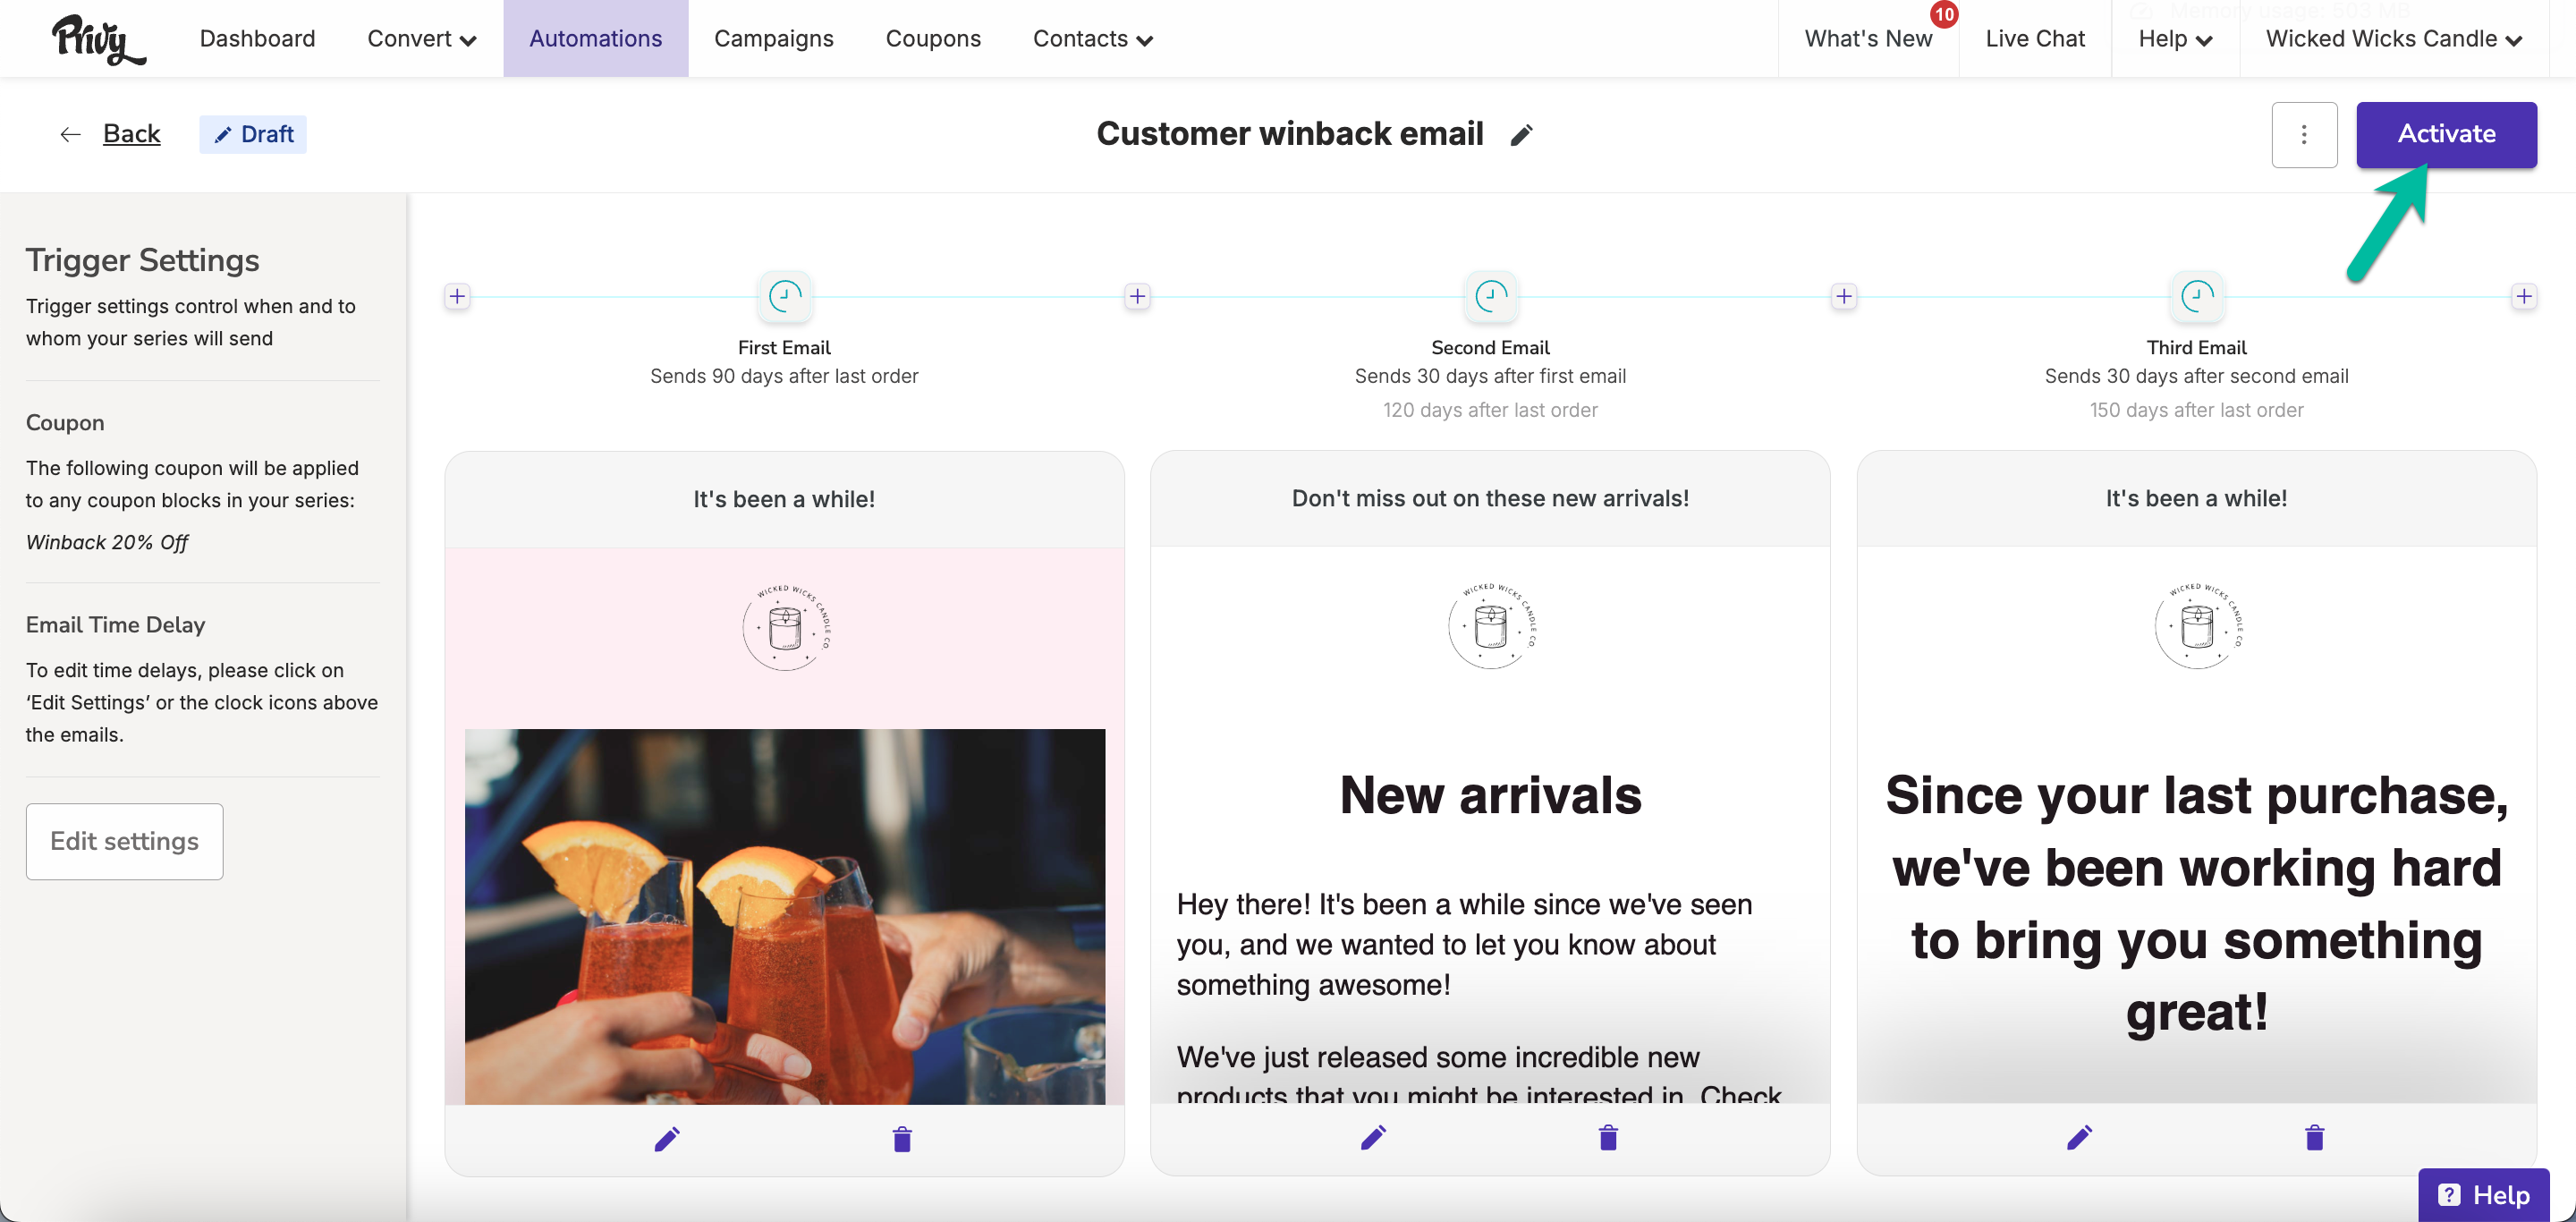
Activate your series
Once you’ve customized your templates and edited your settings, you’re ready to launch your Customer Winback Series! Click the Activate button in the upper right corner.