> ## Documentation Index
> Fetch the complete documentation index at: https://help.privy.com/llms.txt
> Use this file to discover all available pages before exploring further.
# Integrate Privy and Smile.io
> Connect Privy with Smile to meaningfully engage with your rewards members.
The Privy integration with Smile.io allows you to engage and reward your loyalty program members in various ways, including:
Reward members for submitting Convert displays (e.g., Newsletter Signup)
Target members with displays/newsletters based on Smile attributes (e.g., Points Balance)
Personalize your member emails by including Smile attributes in the email copy
## Setting up the integration
To enable the Privy \<> Smile.io integration:
1. Navigate to your **Settings** from the bottom left corner of your dashboard.
2. Head to your [Linked Accounts](https://dashboard.privy.com/settings/accounts) page from the left side menu.
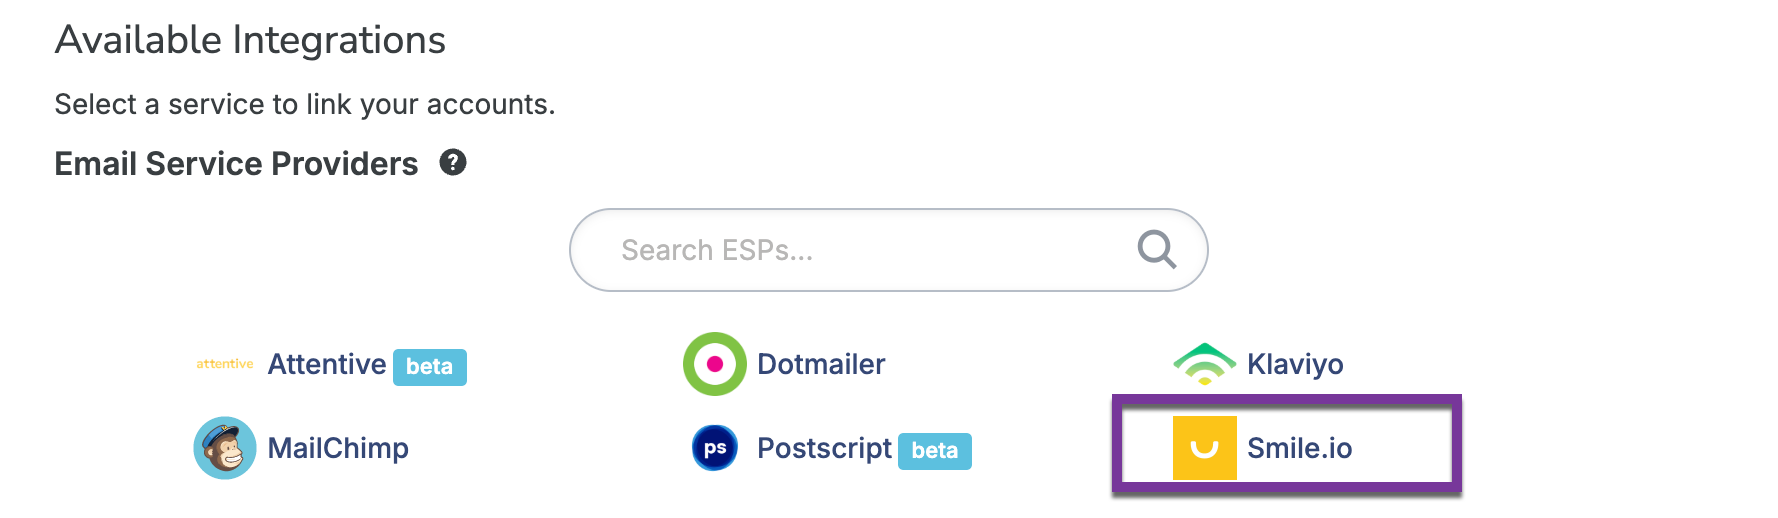
3. Select **Smile.io** from the *Available Integrations*.
 1. Log into Smile.io and **Authorize** the integration.
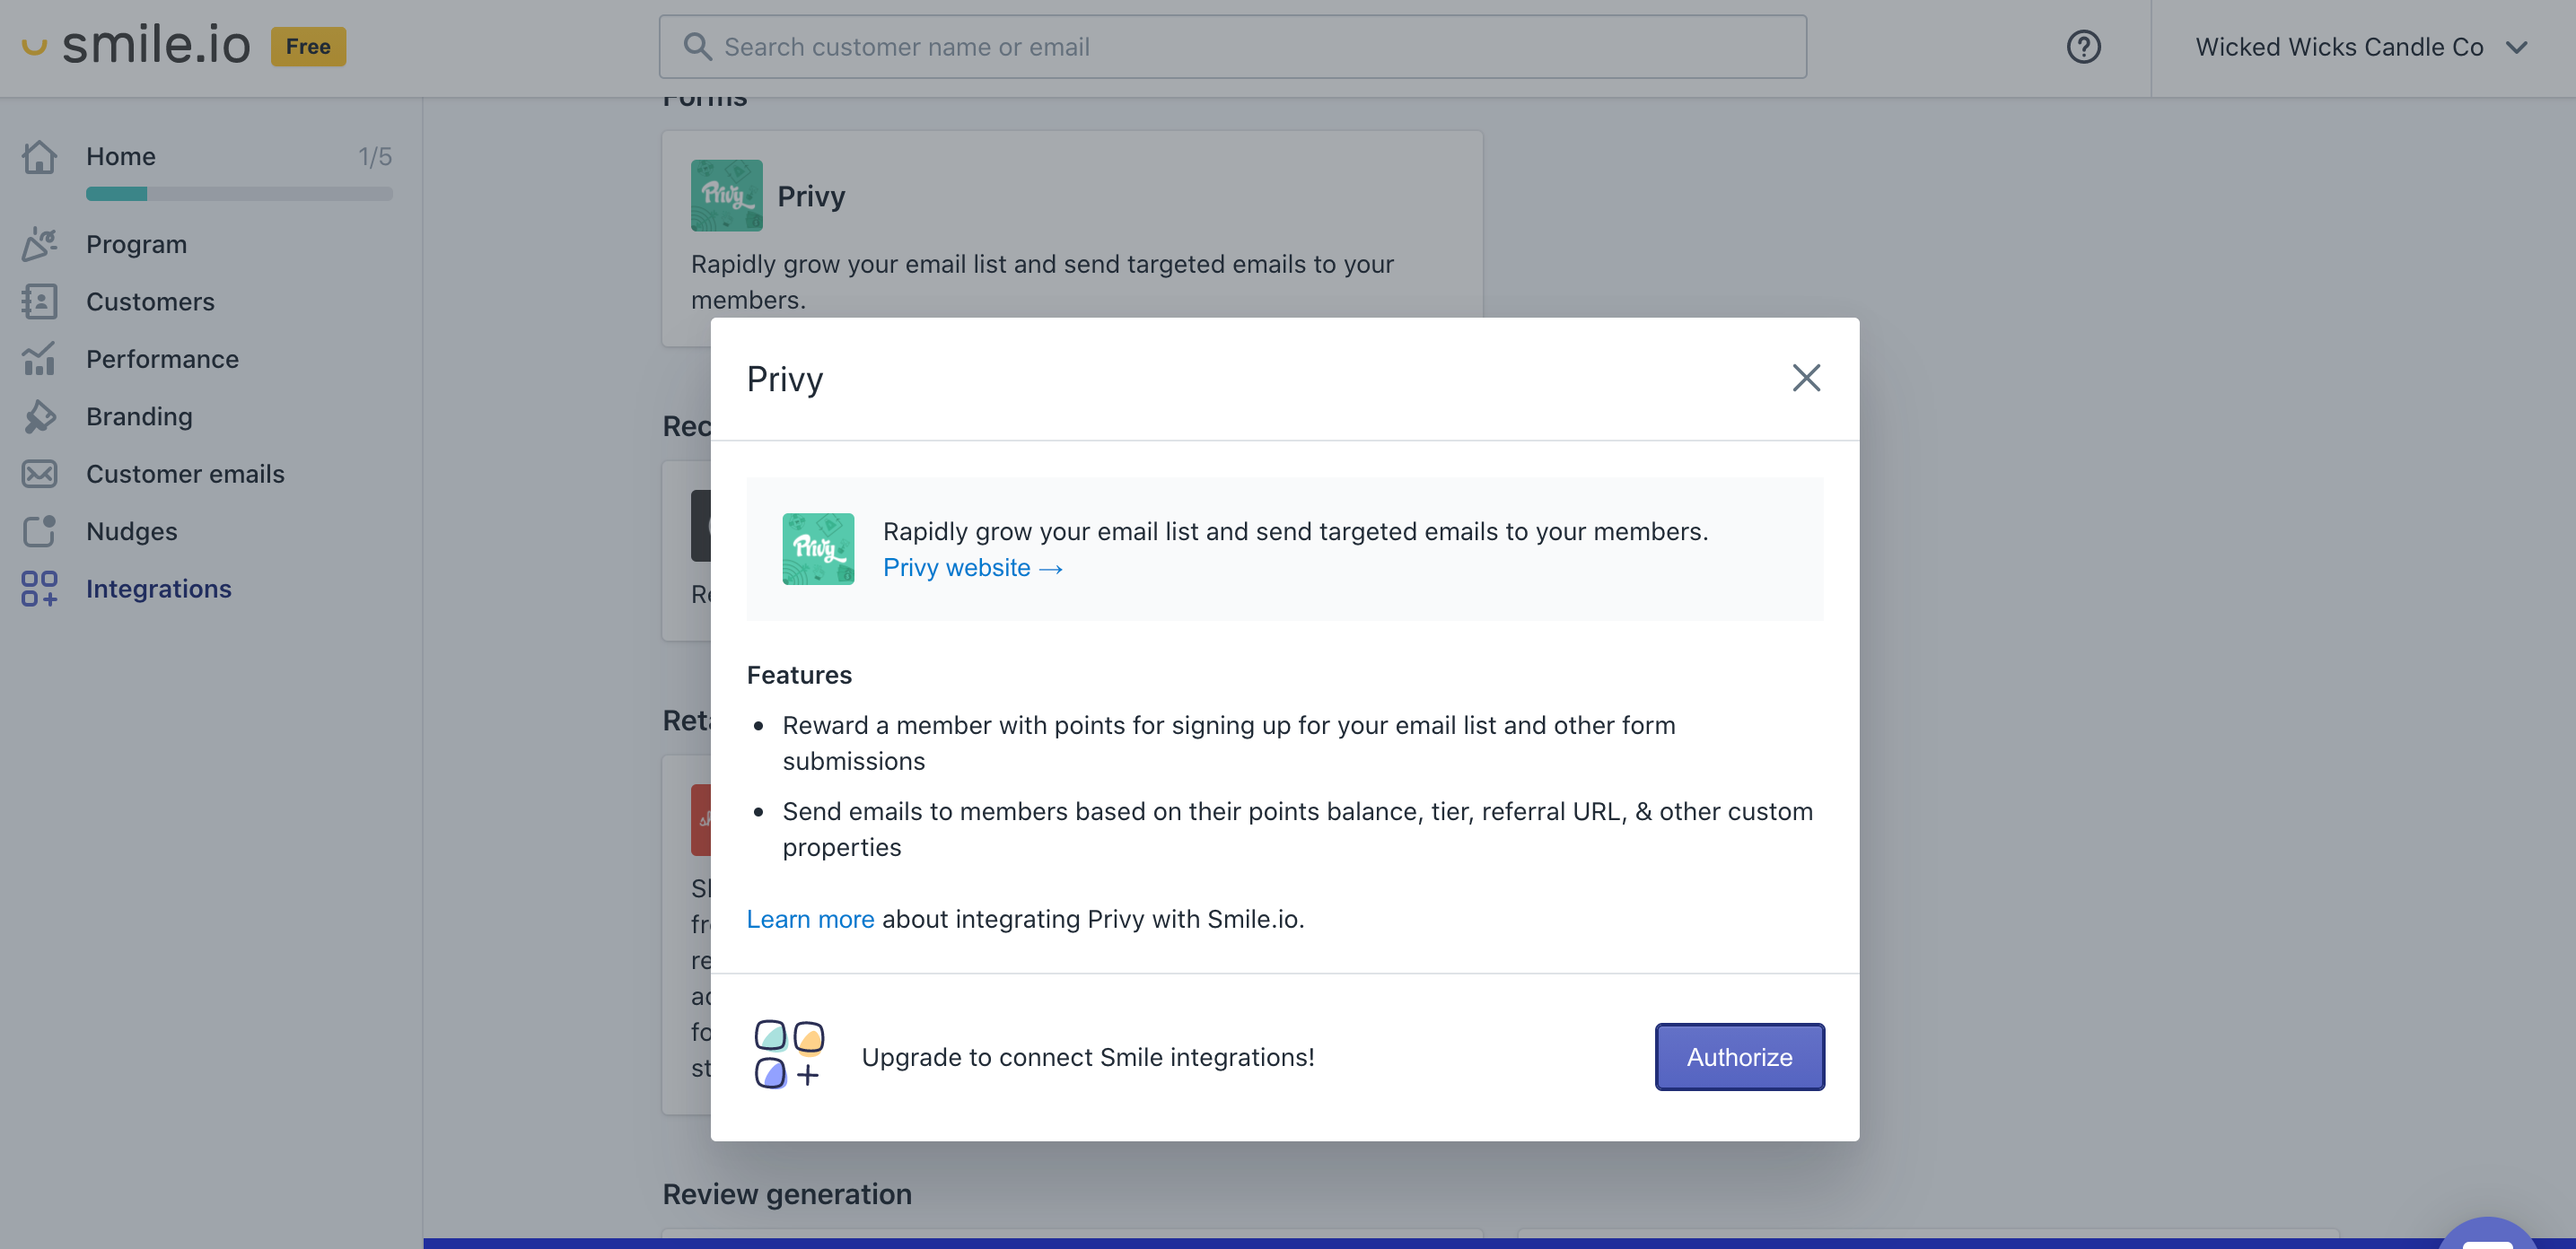 Once you authorize the integration, Privy will import your Smile.io customers in the background. Import times vary depending on the number of existing Smile.io customers. It may take up to several days for a large customer set. New customers will be automatically synced in real time.
## Smile.io Custom Fields
These synced Customers will gain the following Custom Fields, which are usable within Privy for segmenting and personalizing emails + texts, as well as targeting displays.
* **smileio\_points\_balance**: The number of reward points the Customer has at this time.
* **smileio\_vip\_tier**: The VIP Tier of the Customer, which is configured in your [Smile.io account](https://app.smile.io/reward-programs/vip/tiers).
* **smileio\_referral\_url**: The Customer's referral URL.
* **smileio\_state**: The [Membership State](https://help.smile.io/en/articles/4036221-different-types-of-customers-in-smile) of the Customer. The value will be member, candidate, or excluded/disabled.
* **smileio\_updated\_at**: A timestamp that indicates when the Customer was last updated.
## Reward Members for sign ups
To reward members when they signup for a display, you just need to add a sync rule to your display:
1. Navigate to your [Displays](https://dashboard.privy.com/displays) page from your dashboard.
2. Navigate to your **Settings** in the display editor.
3. Click to **Show Advanced Settings**, scroll to select the **Sync Integrations** card, and then choose **Smile.io** from the *Account* dropdown menu and **Sign up for an offer** from the *Activity* dropdown menu. **Save**.
Once you authorize the integration, Privy will import your Smile.io customers in the background. Import times vary depending on the number of existing Smile.io customers. It may take up to several days for a large customer set. New customers will be automatically synced in real time.
## Smile.io Custom Fields
These synced Customers will gain the following Custom Fields, which are usable within Privy for segmenting and personalizing emails + texts, as well as targeting displays.
* **smileio\_points\_balance**: The number of reward points the Customer has at this time.
* **smileio\_vip\_tier**: The VIP Tier of the Customer, which is configured in your [Smile.io account](https://app.smile.io/reward-programs/vip/tiers).
* **smileio\_referral\_url**: The Customer's referral URL.
* **smileio\_state**: The [Membership State](https://help.smile.io/en/articles/4036221-different-types-of-customers-in-smile) of the Customer. The value will be member, candidate, or excluded/disabled.
* **smileio\_updated\_at**: A timestamp that indicates when the Customer was last updated.
## Reward Members for sign ups
To reward members when they signup for a display, you just need to add a sync rule to your display:
1. Navigate to your [Displays](https://dashboard.privy.com/displays) page from your dashboard.
2. Navigate to your **Settings** in the display editor.
3. Click to **Show Advanced Settings**, scroll to select the **Sync Integrations** card, and then choose **Smile.io** from the *Account* dropdown menu and **Sign up for an offer** from the *Activity* dropdown menu. **Save**.
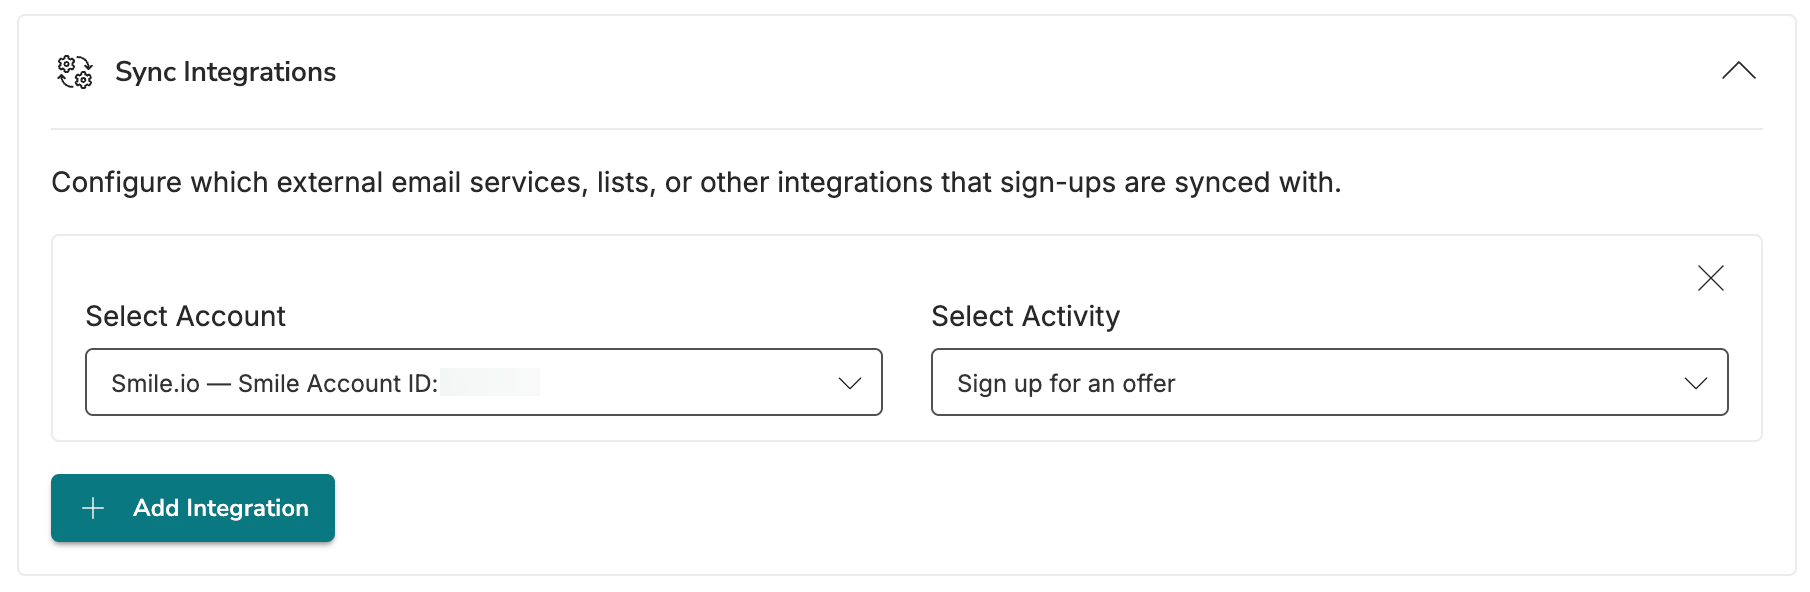 Members who submit the display will now receive the points associated with the 'Sign up for an offer' activity in your Smile account. This activity is automatically added when you integrate Privy with Smile, and the reward amount is customizable via the Points section of your Smile account.
## Use Smile.io data in your displays
### Target displays using Smile.io data
You can target specific displays to appear only for specific audiences based on their Smile Membership Status, VIP Tier, or Points Balance. Here's how to set up this audience targeting:
1. Navigate to your [Displays](https://dashboard.privy.com/displays) from your dashboard. Select an existing display, or create a new display.
2. Head to your **Settings** in the display editor. Click on the **Audience Targeting** card and select "Add targeting condition".
3. Click the dropdown menu listed under the *Property* header and select the **Custom fields** option from the *Customer Attributes* section. Two additional dropdown menus will appear.
* In the *Field* dropdown menu, search for and select the desired Smile property.
* In the *Field Type* dropdown menu, select the field's corresponding format. For example, the VIP Tier Name values would be text, while the Points Balance would be a number.
* Next, choose the operator and the value that you'd like the rule to evaluate.
4. Finalize any additional rules and select **Save**.
Great work! This display will now only appear to contacts who meet these criteria.
### Personalize displays using Smile.io custom fields
To reference Smile data for personalization purposes, type/paste the appropriate tag into your display content:
* **Points Balance**: `{{ contact.custom_fields.smileio_points_balance }}`
* **VIP Tier**: `{{ contact.custom_fields.smileio_vip_tier }}`
* **Referral URL**: `{{ contact.custom_fields.smileio_referral_url }}`
* **Membership State**: `{{ contact.custom_fields.smileio_state }}`
Members who submit the display will now receive the points associated with the 'Sign up for an offer' activity in your Smile account. This activity is automatically added when you integrate Privy with Smile, and the reward amount is customizable via the Points section of your Smile account.
## Use Smile.io data in your displays
### Target displays using Smile.io data
You can target specific displays to appear only for specific audiences based on their Smile Membership Status, VIP Tier, or Points Balance. Here's how to set up this audience targeting:
1. Navigate to your [Displays](https://dashboard.privy.com/displays) from your dashboard. Select an existing display, or create a new display.
2. Head to your **Settings** in the display editor. Click on the **Audience Targeting** card and select "Add targeting condition".
3. Click the dropdown menu listed under the *Property* header and select the **Custom fields** option from the *Customer Attributes* section. Two additional dropdown menus will appear.
* In the *Field* dropdown menu, search for and select the desired Smile property.
* In the *Field Type* dropdown menu, select the field's corresponding format. For example, the VIP Tier Name values would be text, while the Points Balance would be a number.
* Next, choose the operator and the value that you'd like the rule to evaluate.
4. Finalize any additional rules and select **Save**.
Great work! This display will now only appear to contacts who meet these criteria.
### Personalize displays using Smile.io custom fields
To reference Smile data for personalization purposes, type/paste the appropriate tag into your display content:
* **Points Balance**: `{{ contact.custom_fields.smileio_points_balance }}`
* **VIP Tier**: `{{ contact.custom_fields.smileio_vip_tier }}`
* **Referral URL**: `{{ contact.custom_fields.smileio_referral_url }}`
* **Membership State**: `{{ contact.custom_fields.smileio_state }}`
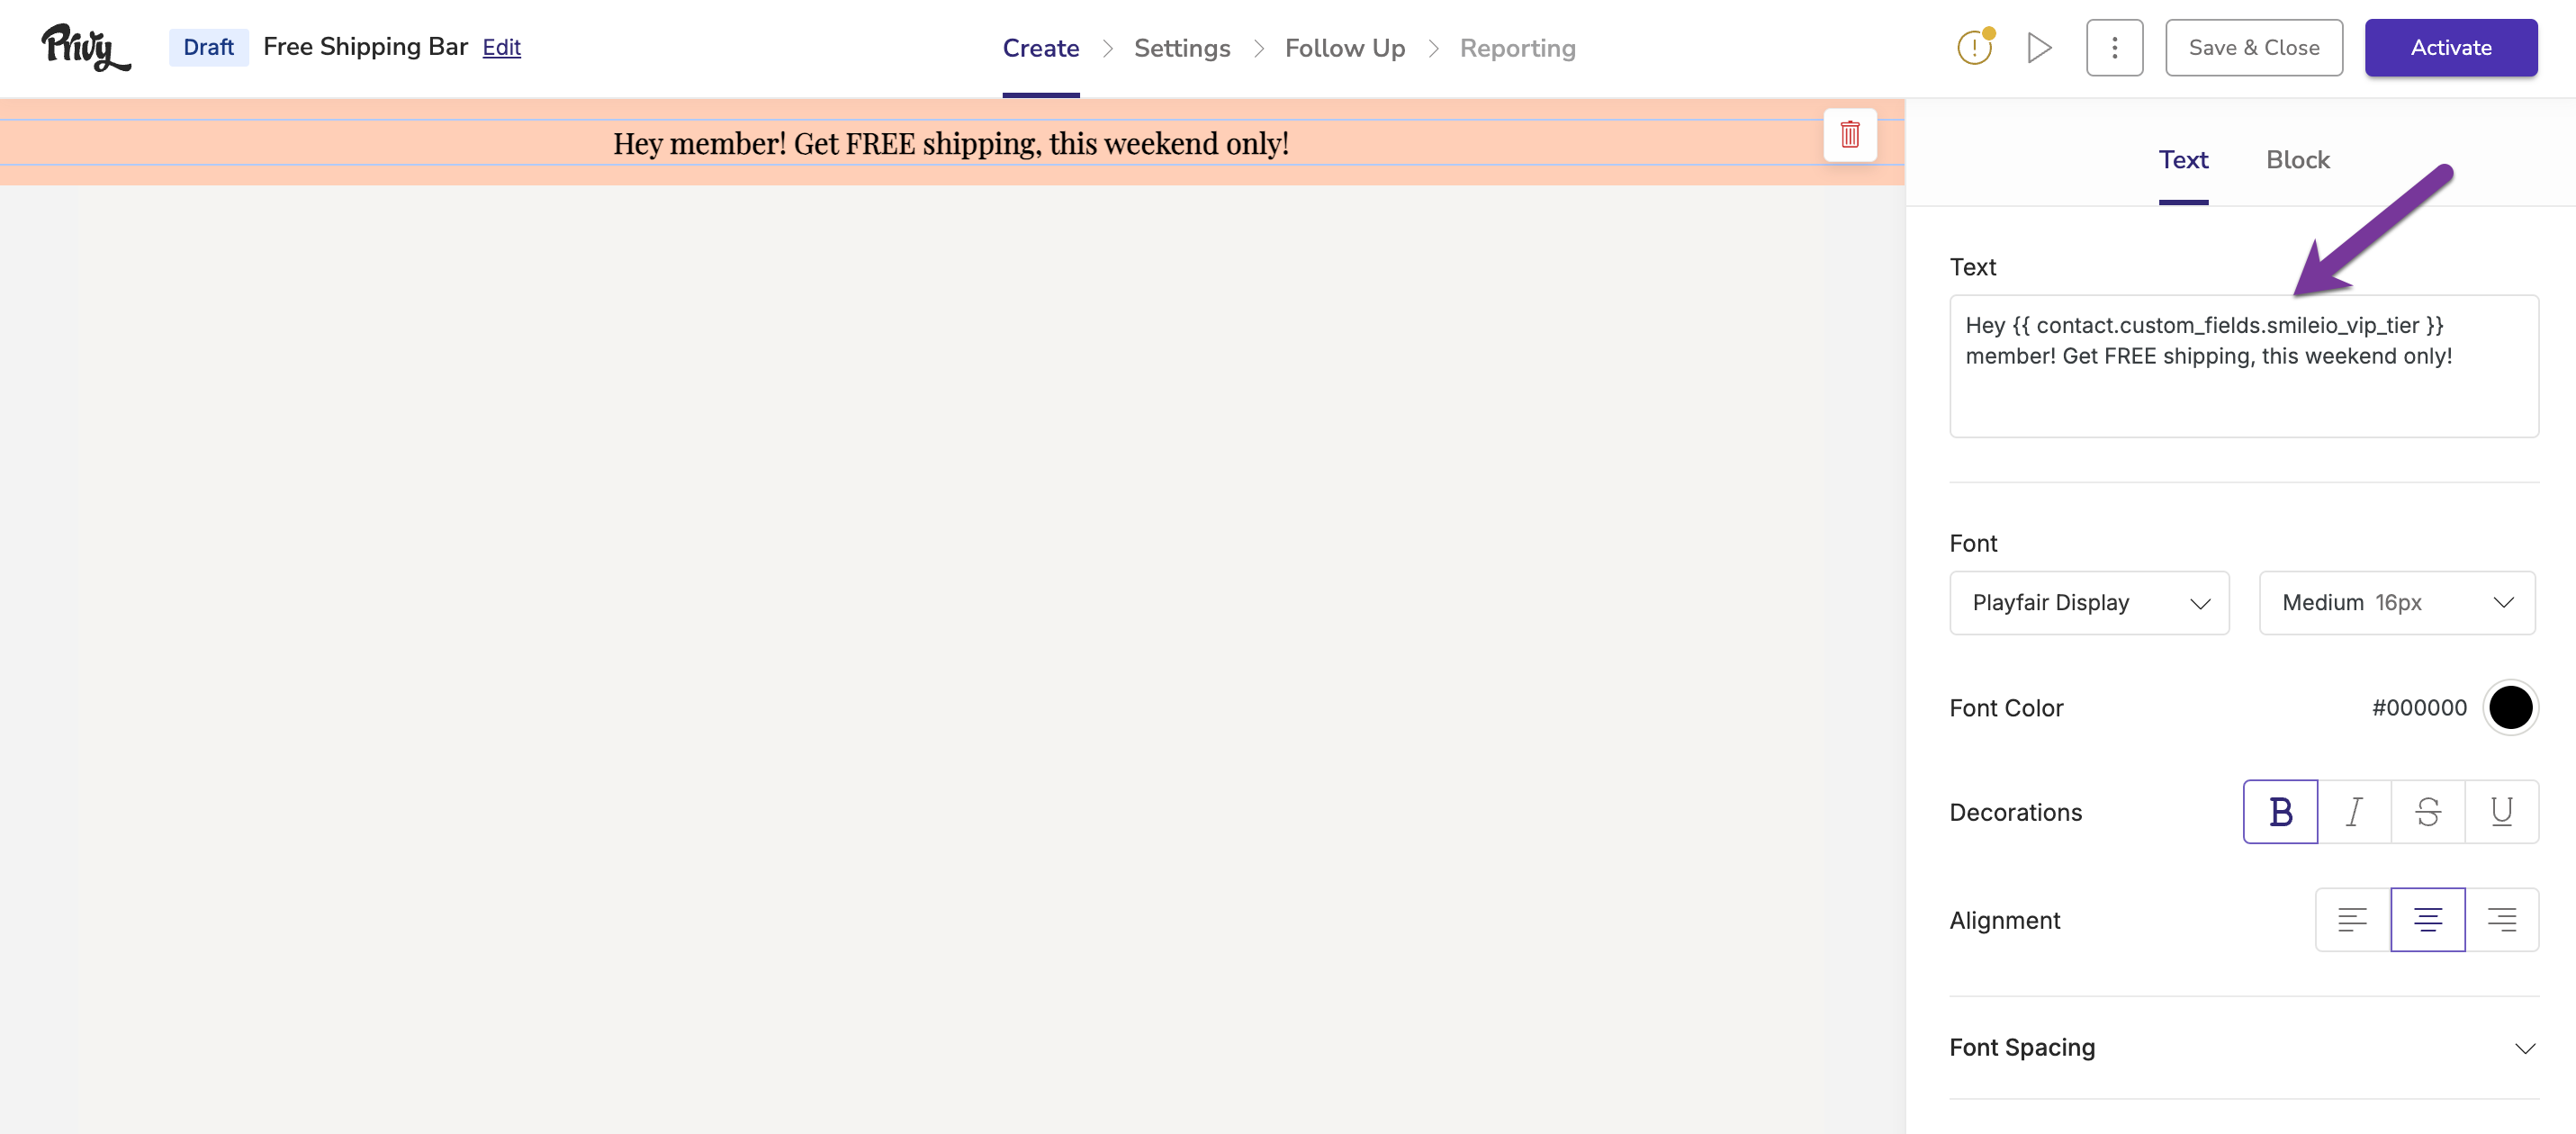 And voila! Once launched, the variable in your display will populate to reflect the data associated with the visitor's profile in Smile:
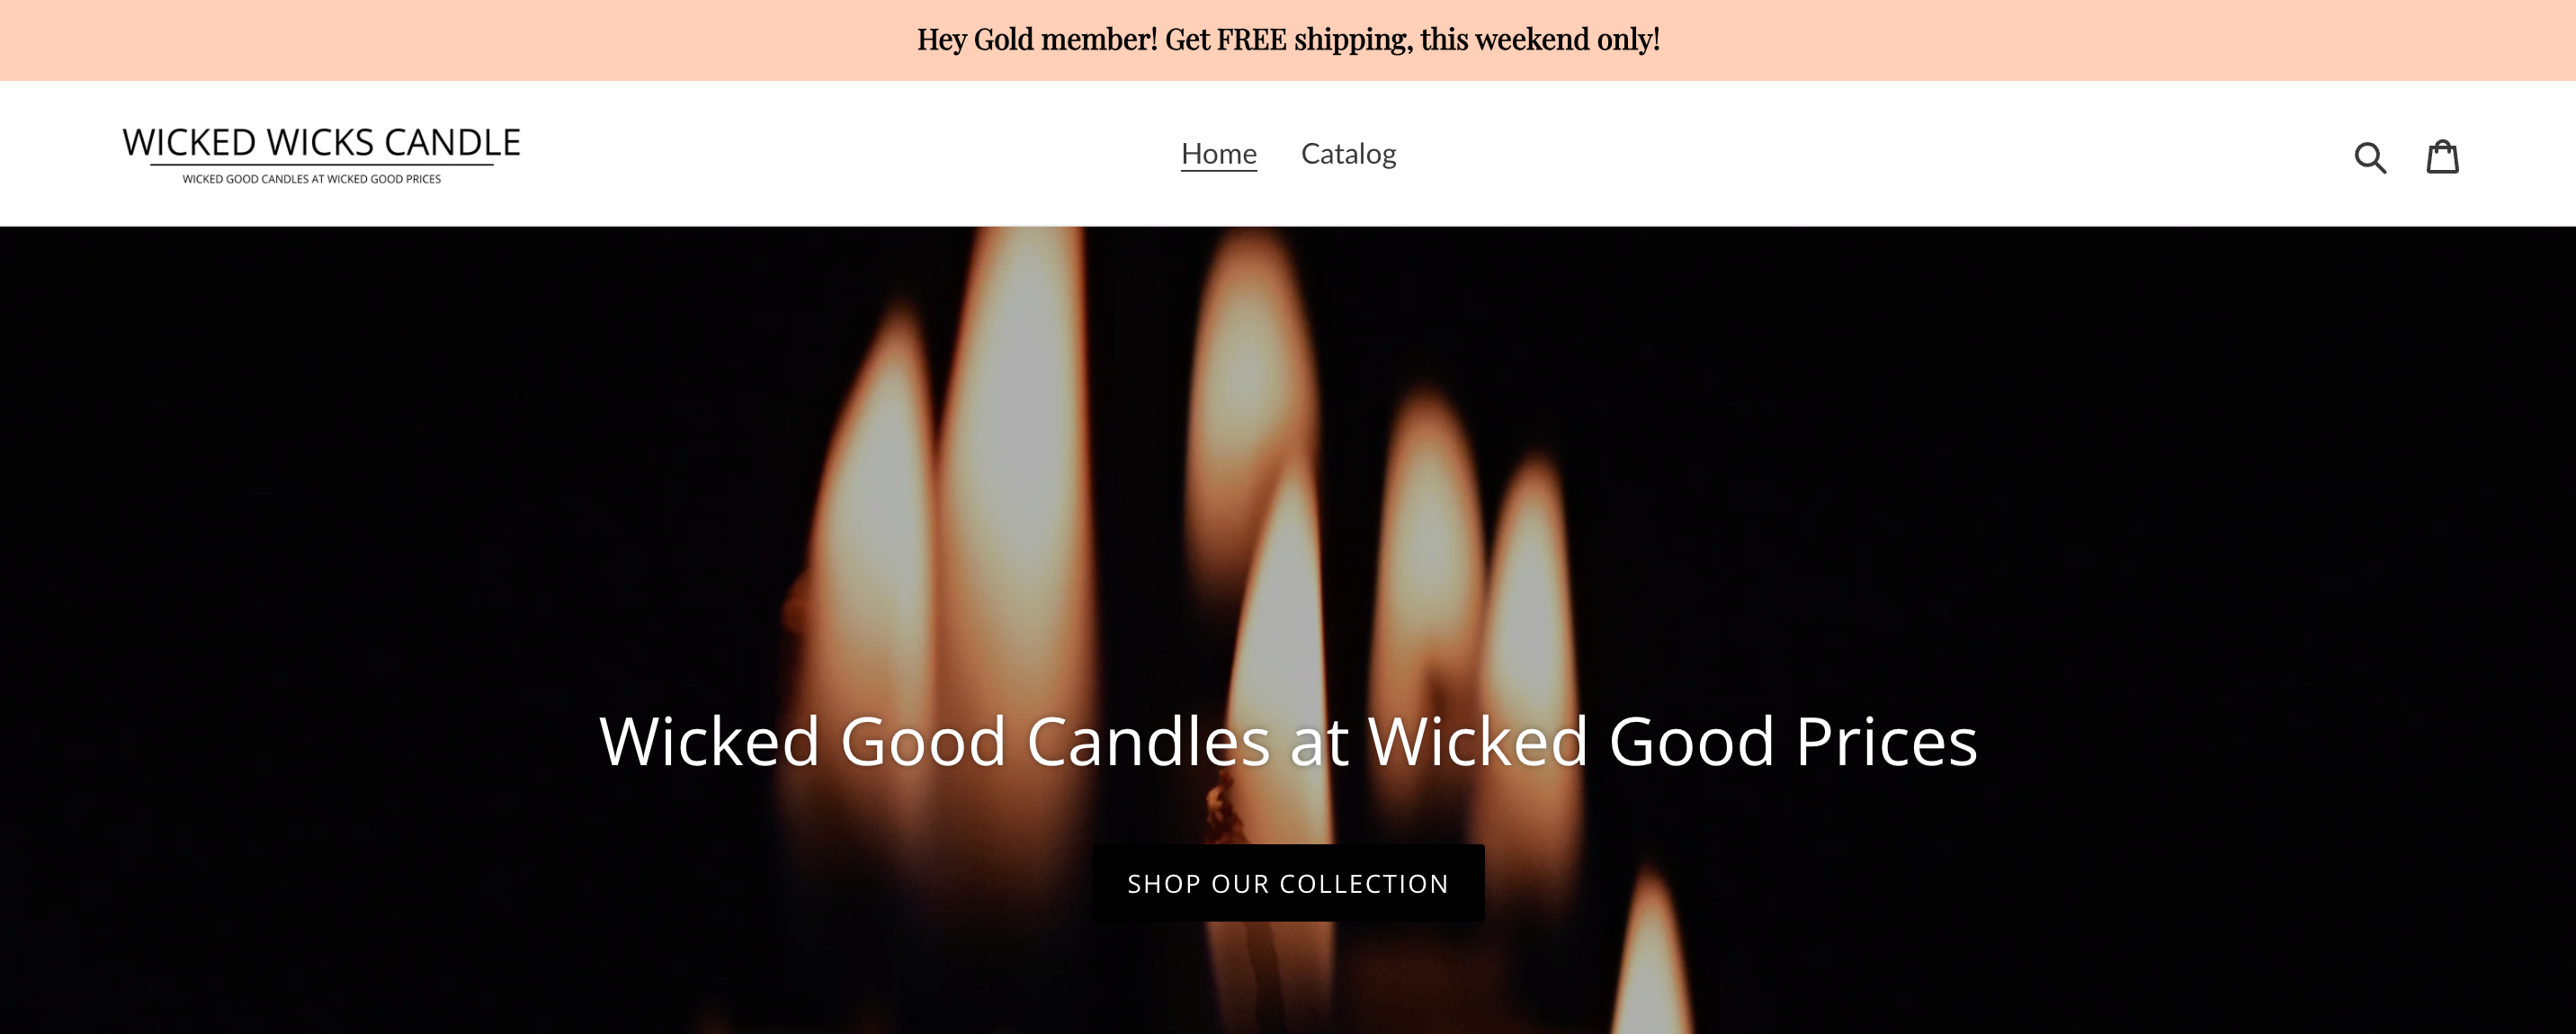 The fields will only be populated if Privy can identify the site visitor + that visitor has values for the fields. Therefore, it's recommended that you also add Audience Targeting to ensure a value is known. For example, a rule like 'smileio\_state' 'text' 'is' 'member' will ensure the display only appears to visitors in your Smile program.
## Use Smile.io data in your emails
### Segment contacts using Smile.io data
Along with targeting your displays, you can also create Custom Segments to send personalized emails or SMS messages to contacts based on their Smile Membership Status, VIP Tier, or Point Balance.
1. Navigate to Contacts > [Segments](https://dashboard.privy.com/segments) and select "Create Segment".
2. Give your Segment a title.
3. Select *Custom Field* from the "Choose category" menu. In the following dropdown menu, select which Smile.io custom field you'd like to segment by.
4. Customize the following dropdown menus to align with your selection. For example, if you are segmenting by `smileio_points_balance`, then you'll select "number" and either "is greater than" or "is less than" before typing in your desired point balance in the value box.
5. Add any other desired segment categories and click **Create** to finalize your Segment!
### Personalize emails using Smile.io custom fields
To inject personalized data from Smile.io into your email, such as a contact's point balance, use the **Merge Tag** function when typing your content:
And voila! Once sent, your Merge Tag will populate to reflect the data associated with the recipient's profile in Smile:
The fields will only be populated if Privy can identify the site visitor + that visitor has values for the fields. Therefore, it's recommended that you also add Audience Targeting to ensure a value is known. For example, a rule like 'smileio\_state' 'text' 'is' 'member' will ensure the display only appears to visitors in your Smile program.
## Use Smile.io data in your emails
### Segment contacts using Smile.io data
Along with targeting your displays, you can also create Custom Segments to send personalized emails or SMS messages to contacts based on their Smile Membership Status, VIP Tier, or Point Balance.
1. Navigate to Contacts > [Segments](https://dashboard.privy.com/segments) and select "Create Segment".
2. Give your Segment a title.
3. Select *Custom Field* from the "Choose category" menu. In the following dropdown menu, select which Smile.io custom field you'd like to segment by.
4. Customize the following dropdown menus to align with your selection. For example, if you are segmenting by `smileio_points_balance`, then you'll select "number" and either "is greater than" or "is less than" before typing in your desired point balance in the value box.
5. Add any other desired segment categories and click **Create** to finalize your Segment!
### Personalize emails using Smile.io custom fields
To inject personalized data from Smile.io into your email, such as a contact's point balance, use the **Merge Tag** function when typing your content:
And voila! Once sent, your Merge Tag will populate to reflect the data associated with the recipient's profile in Smile:
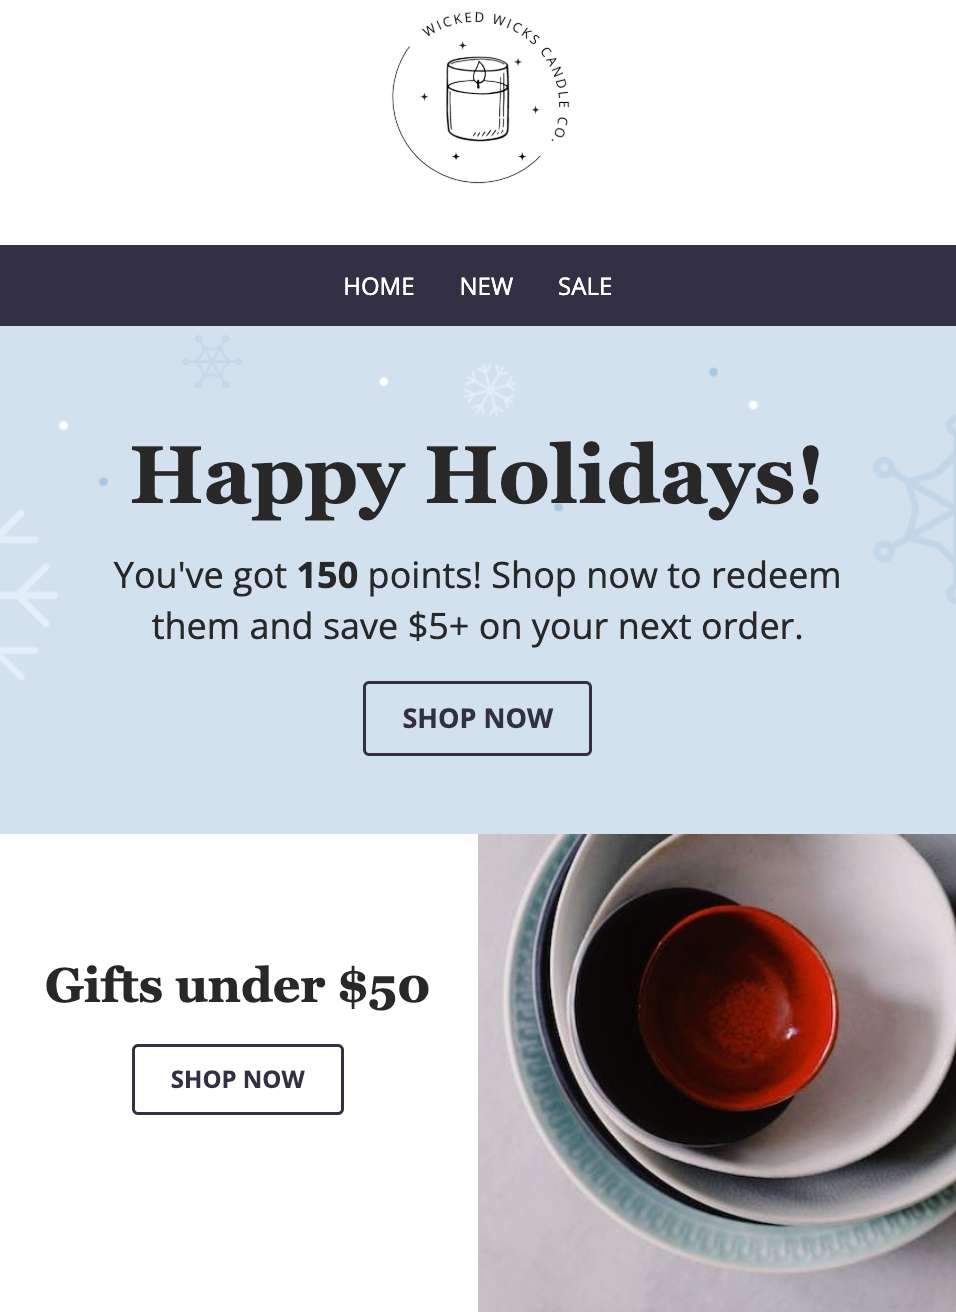 These fields will only populate if the recipient has values for the fields. Therefore, it's recommended that you use email segmentation that ensures a value is known. For example, the email above should be segmented to any contacts with a Smile points balance greater than 1 to ensure a value will populate.